
Hello there! Like me, you probably want to use pip to manage your packages and dependencies. Pip is a package manager for Python. Pip is a strong tool that makes it simple to install, update, and remove Python packages. However, how can one set up pip on Windows? I’ll walk you through the process in this blog article in a few easy stages. Let’s get going!
Install PIP using .exe
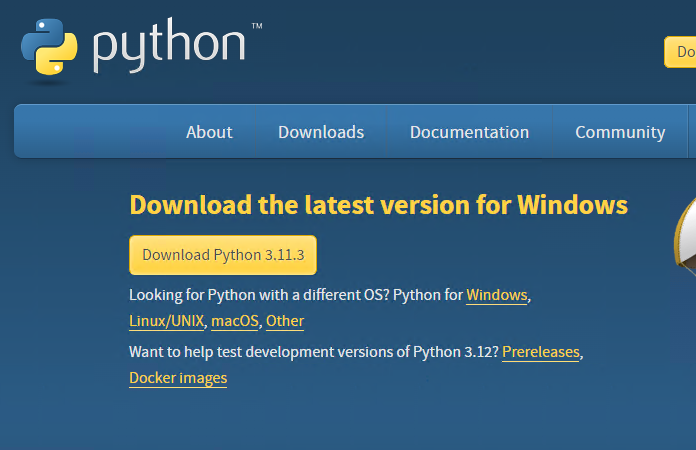
- To begin, go to this website and download the most recent version of Python for Windows.
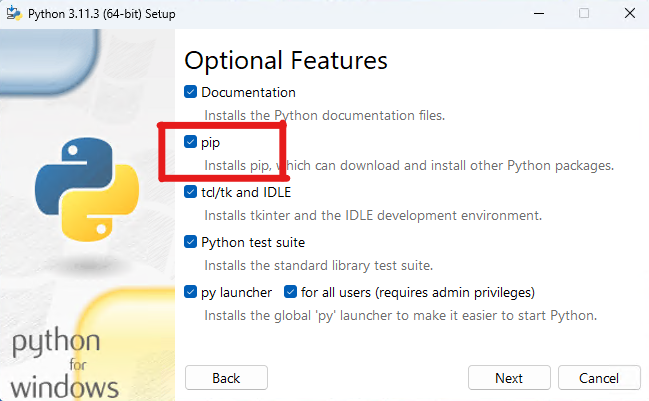
- Then, double-click the setup file. When the installer displays, navigate to the Customise Installation section.

- Ensure that “pip” and other options are enabled. “Next” and then “Install” should be selected.
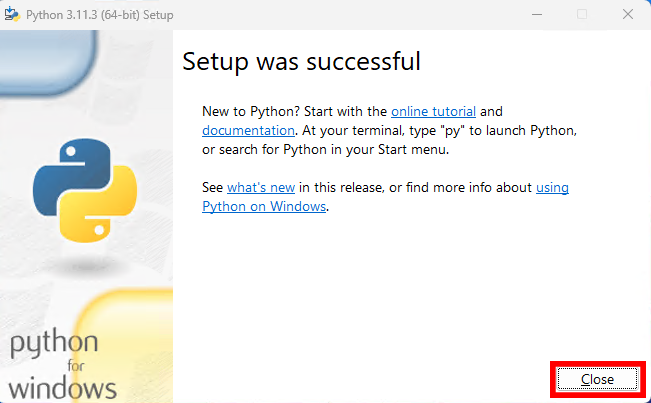
- Python and Pip will both be installed on your Windows PC.
Install PIP using Command Line
You can also use CMD or Windows Terminal to install Pip from the command line on Windows. Follow the instructions described below.
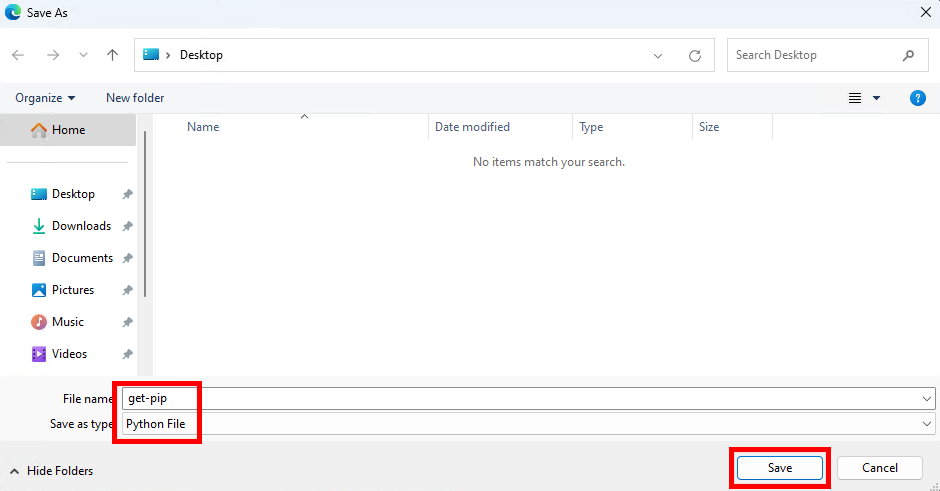
- Right-click this link and select “Save link as…”
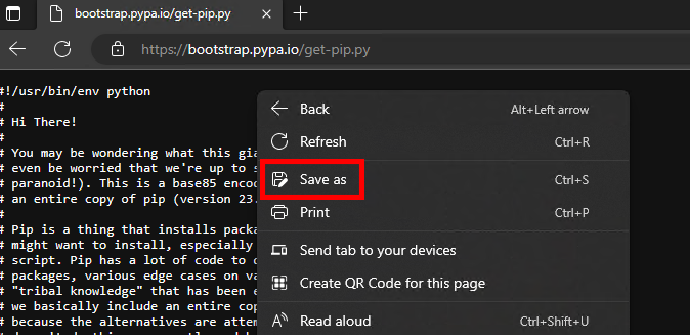
- Save it as “get-pip.py” in any folder of your choice.
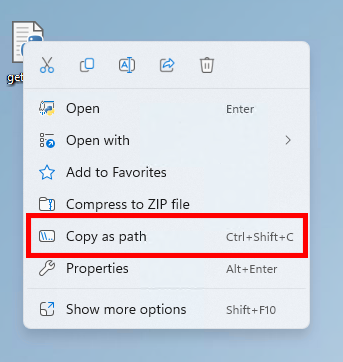
- Next, right-click on the “get-pip.py” file and choose “Copy as path”.
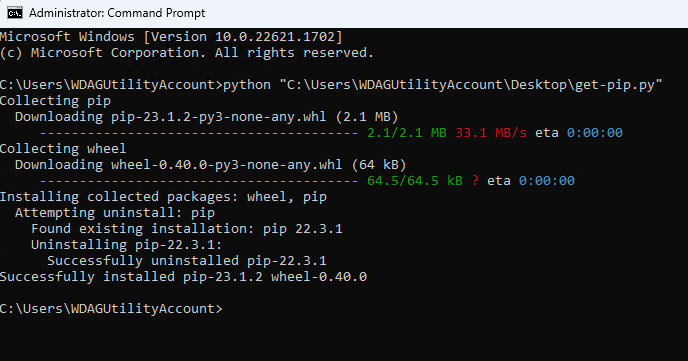
- Finally, launch the Terminal and follow the steps below. Enter python, followed by a space, and then the path. After that, press Enter to install Pip on your Windows 11/10 PC.
Verify PIP Installation
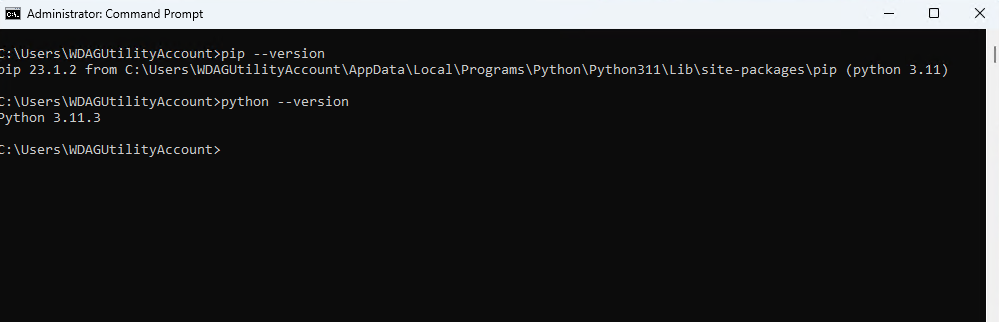
To ensure that everything went smoothly, use Windows Terminal or Command Prompt and execute the instructions listed below. If the installation was successful, the first command displays the Pip version, and the second command displays the Python version that is presently installed on your computer.
- pip –version
- python –version
That’s it for this blog post. I hope you found it useful and informative. If you have any questions or feedback, feel free to Join our Discord Server/Whatsapp Community. Happy coding!